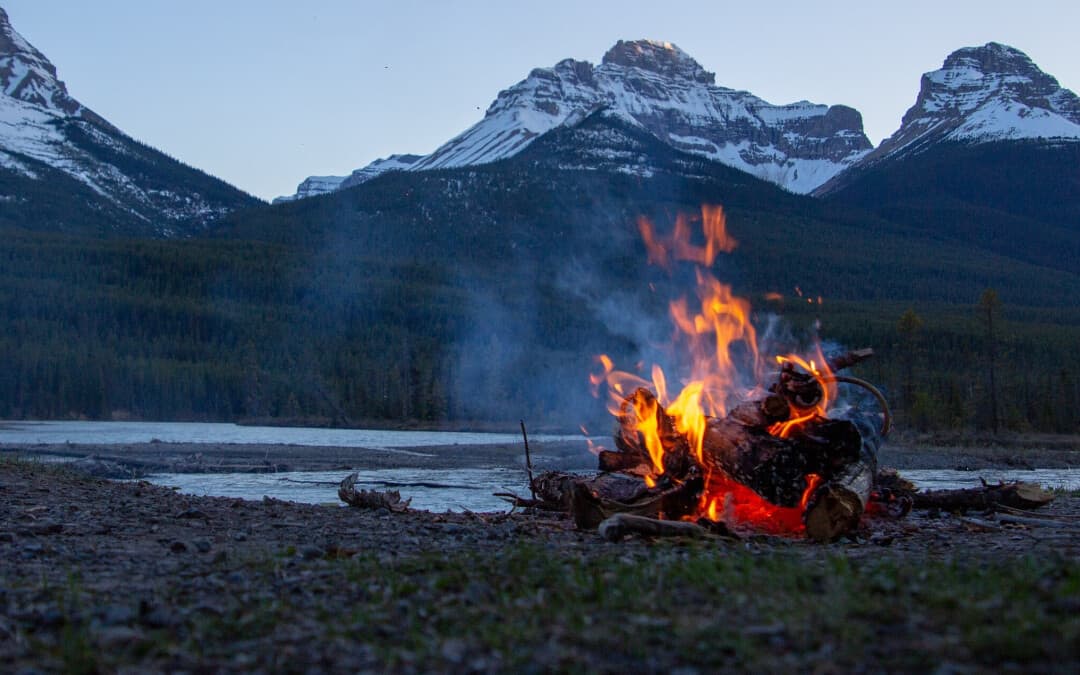
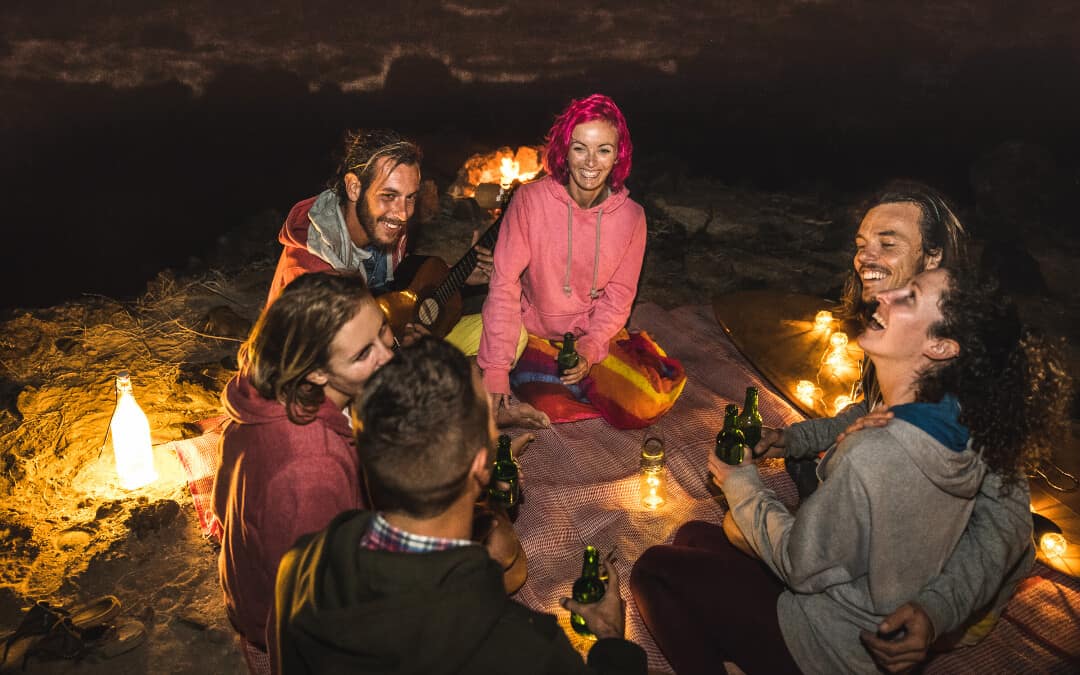
Knowing how to build a campfire is invaluable knowledge when it comes to camping. It’s the perfect way to stay safe and warm, cook food, and create a fun, memorable experience with your friends and family.
Perfect Campfire(?)
Roaring Campfire
Do Your Research
Before you head out on your next camping trip, ensure the area you’ll be staying in allows fires. Some campgrounds explicitly permit fires at certain times of the year (or year-round), and some areas may be under burn bans due to droughts or similar environmental issues.
Check Permission
If you’re going to a popular campsite for your trip, it should be easy to find out if campfires are currently allowed just by visiting the campground’s website.
If you’re going backwoods camping, visit the county’s website to see if there are any fire bans or regulations against fires currently in effect. If you aren’t sure about the legality of building a fire, contact local law enforcement for clarification before your trip.
If you’re going to a popular campground, there’s a good chance you’ll find an existing fire ring at your campsite. If so, be sure to use it instead of trying to build your own pit.
The last thing you want is to build a fire when you aren’t legally allowed to due to fire bans or other regulations–doing so can result in unwanted fines or penalties that could otherwise be avoided. A fine could be the worst of your troubles; an illegal fire could potentially lead to much bigger issues such as a forest fire.
Start Early (h2?)
If you’ve ever tried to build a campfire in the dark, you already know how challenging it can be. Finding a safe spot for your fire and ensuring there are no hazards (low hanging branches, dry brush, etc.) can be difficult.
Additionally, collecting adequate supplies for your fire is much more difficult after dark. Instead, try to build your fire (or at least prepare to build your fire) with plenty of daylight remaining so you can be sure the experience is as enjoyable and smooth as possible.
Choose Your Site
Whether your campsite already has an existing fire ring for building fires in, or if you’re in an area where you need to build your own fire pit it’s important to check for branches and dry bushes that may be close to the flame. Additionally, never plan to build your fire on grass–especially on dry or dead grass.
Once you’re certain there are no hazards near the area you plan on building your fire, you can start prepping.
Prep to Build Your Fire
Once you’ve found the perfect spot to build, it’s time to build your fire bed and collect tinder and firewood.
Build a Fire Ring
If the area you’re camping in doesn’t have a clear designated area for fires, you’ll need to create one.
It’s important build your campfire in a fire pit or ring to reduce the risk of your campfire turning into a wildfire. If there isn’t an existing ring or pit at your campsite, building a campfire ring out of stones is fairly simple (assuming you can find some rocks).
Gather Wood
Without wood, you won’t have much of a campfire. However, not all wood is created equal. Some wood is great for getting a fire started, some wood is great for keeping a fire going, and some wood isn’t great for fires at all.
You’ll need tinder and kindling to get your fire going, and fuel wood to keep your fire burning for hours.
dry wood
Dry Leaves
Dry Grass a
Wood Shavings
Tinder
A crucial component to a good fire is material that can ignite easily. Materials such as dry bark, dry grass, dry leaves, wood shavings, and small twigs are all excellent for getting a fire started.
If you plan in advance, you can put together a tinder box to bring along on your trip. A tinder box can include various materials such as dryer lint and cotton, and it can be a lifesaver–especially when it’s wet outside (wet tinder can be tough to light).
For ideas on what to include in your tinderbox, check our tinder box article here.
Kindling
In addition to tinder, you’ll need some kindling that the tinder can ignite. Kindling is generally small sticks and twigs that range in diameter between a few centimeters to about the diameter of your finger.
Ideally, use dry sticks and twigs for your kindling… but if you can’t find any dry wood, try to whittle away the moist bark with your knife.
Don’t skimp on the kindling–you’ll need a fair amount to burn for a while so you can get the bigger sticks and logs burning properly. Double whatever amount of kindling you think you need to ensure you can keep your fire going during its early stages.
Fuel Wood
After tinder and kindling, you need wood that can stay lit for a long time.
This is where fuel wood comes in. This is wood that is about the diameter of your wrist or bigger. As you get your fire going, you can ramp up the size of the fuel logs as you go.
Similar to tinder, dry wood is preferred over wet wood. Wet wood and fresh, green wood is more difficult to ignite and creates a lot of smoke. If you’re unable to source dry wood that can snap easily, whittle away the wet bark to make it easier to catch fire.
Once you’ve collected the wood you’ll need, it’s time to start building.
Build Your Foundation(?)
Tinder Bed
Create a Tinder Bed
Tinder Pile
tinder bundle
Kindling
Add the Kindling
small sticks
Campfire Building Techniques
There are various ways by which you can organize Tinder, Kindling, and firewood. Following are the widely used styles of campfire i.e. Teepee fire, star, log cabin, lean-to, upside down pyramid (platform).
wood
Split wood and kindling:
Peel off the bark:
Log Cabin Fire
A Log Cabin Fire (aka Parallel Fire)
Firstly, create a small teepee structure.
After that place a large piece of fuelwood opposite to the teepee structure.
Place smaller pieces of firewood first across the fuel wood and then parallel to the other side of the teepee.
Repeat the same procedure until it forms a cabin. Ignite the structure.
Upside down pyramid (platform)
Place three to four large logs on the bottom layer side by side.
After that, at 90-degree, add the second layer of smaller logs on top of the previous layer.
Repeat the same process up to few-layer by keeping the wood size smaller than the previous layer.
Above all place kindling and then tinder on the top
Pyramid (Upside-Down Fire)
aaaaaa
Teepee Fire
REWRITE: One of the classic fire shapes, the teepee (also spelled tipi or tepee fire) or cone fire gets its name from the shelter it resembles.
It looks like a cone-shaped structure that resembles after the Indigenous dwelling. Following is the method by which you can make a campfire structure like Tepee
- Firstly, place tinder woods in the middle of the campfire site.
- After that, form a teepee using Kindling woods. Make an opening in your teepee against the side of wind blowing. It will ensure that the campfire gets an appropriate amount of air as required by it and it will help in blowing the flames over kindling.
- Start adding more kindling to the teepee up to pencil size twigs.
- After that, add firewood around kindling teepee to create a larger teepee.
- Start puts the fire under the tinder as it lays the flames up directly. Slowly flames will rise up to the kindling and later on the fuelwood.
- After some time, the teepee structure will fall down. You can add more logs to the fire, according to your need.
teepee fire
The Lean-To
During Windy, it is the best campfire method that uses its own firewood as a windbreaker. The following are steps that are required for the lean-to fire method.
At about an angle of 30- degree place a long piece of kindling into the fire bed.
While placing kindling ensure that the stick ends are in the wind direction.
Underneath the kindling support structure place tinder bundle
Put more small kindling pieces around the nest of tinder.
Against the structure put small pieces of kindling. Add more layers of larger kindling around it.
After that, start igniting the tinder and enjoy the campfire.
The Star Fire
Star fire
This method was used by Native American tribes as they have low supplies of woods. This method is unique from other method as it will not burn all logs at once. It works by arranging the few log ends by burning them bit by bit. It results in a fire the burns woods slowly. Following are the ways by which you can create star shape campfire
For this to work properly, you need to create a small teepee with kindling
Next, you need to place four or five logs around the kindling teepee
One end is in the fire and other end leads away like the starburst point.
The benefit of the star type campfire is it extinguishes quickly. You can extinguish it by pulling the middle layer logs.
Once you are done by creating the structure for a campfire. The next step is lighting the campfire.
Once you are done by creating the structure for the campfire. The next step is lighting the campfire. Following are the accessories that are required for burning the fire lays.
Lighting Your Fire
Carry a chemical fire starter or a candle to start the fire
tinder pile
lighter fluid
You can also take cotton balls which are dipped in Vaseline, a cigar-size newspaper that is dipped into melted paraffin or a flattened milk carton wax. Never go for a loose newspaper as they are good moisture absorber on damp days.
———–
Finally, it is the time when you can start lighting the fire. Following are some tips that are helpful while igniting the campfire
Ignite the tinder first using matchbox or fire starter, which is specially designed to burn the tender.
Once the tinder starts burning, blow it lightly at the base of the fire in order to provide oxygen. It will help in increasing the flame intensity and further it will help in the ignite of firewood.
After some time start moving embers in the middle so that woods burn completely.
Spark or Flame Source
Light low from the windward side:
How to Start a Campfire With Wet Wood
roaring campfire
Maintaining Your Fire
Once you’ve got a good fire going, it’s usually fairly easy to maintain. The key is to keep an eye on it and keep adding wood as it burns through the wood you’ve added.
If you need to jump start it a bit, add some mid-sized fuel wood over the hot coals and stoke them to help the embers ignite the new wood. Stoking the fire helps it get more oxygen, and oxygen is key for the fire to burn hot and bright.
Never leave a fire unattended–if you’re leaving your campsite for any length of time and there’s no one who can keep an eye on it, it’s important to put your fire out and rebuild when you return.
It may seem like a pain, but it’s crucial to ensure things don’t get out of control.
ember
Cooking With Fire
How to Build the Best Campfire for Cooking
Cooking with pots and pans:
Cooking with sticks:
Cooking with foil: coals
Extinguishing Your Fire
Dispose of the ashes
Patch up your ground
Put it out before you sleep:
Keep water or dirt on-hand:
Sprinkle, don’t pour.
Touch test. – coals
Leave No Trace Camping
fire pit
forest fire
ember
Once we are done with a camp fire, it is the best practice that we extinguish it before leaving. Following are the tips mentioned that helps you in extinguishing easily. When you are leaving sprinkle the water on it. Never pour the complete bucket of water on the fire. Remember that pit can be used by someone else later. Sprinkle water as much as you required to extinguish the woods. Sprinkle water till then you do not see any steam or you do not hear any noises.
Do not touch the ashes to check whether it gets completely extinguished or not. Rather put your hand near the ashes and check you are feeling any heat or not. If you are feeling some heat sprinkle more water otherwise it is completely extinguished.
Never burn materials which are not fully convertible into ashes.
Do not try to burn cans, foil, and plastic.
Dispose of the ashes correctly. Leave the clean area for the next camper.
If you burn something which is not fully convertible into ashes, collect all the remaining part. Pack it and dispose it into a trash receptacle.
There is not any specific season for a campfire. You can go for a campfire in any season whether it is rainy or snowing. It just you need to take care of the locations and woods in these seasons. Also weathers like snowfall and rainy one make our campfire moments adorable. But here are some of the tips that would be helpful for you whi;e setting firecamps in snowy or rainy seasons:
When you are all set to the campfire location, the next need is the firewood. For smooth kindling of a fire three types of woodpiles i.e. Kindling, tinder, and firewood are required.
Building a Campfire in the Snow
You must select a site which is protected from snow, wind and water. You must especially avoid setting up under a tree. The snow accumulated on trees can melt and fall onto the fire. If at all you want to set the fire under a tree, knock off all the snowflakes from the tree.
The fire pit should be of stone. Make sure that you put the stones slightly above the ground to allow passage for melted snow. You also need to leave space between the stones. Subsequently, get a heat reflector; this will multiply the amount of heat being radiated on you.
For lighting the fire, you may use an accelerant as it is difficult to light fire in snow conditions.
When you’re done with your fire, you can enjoy its warmth for a prolonged period. Just wrap the stones, that you used to make a pit, under a piece of cloth and put them under your bed. You will get a nice warm sleep.
Building a Campfire in the Rain
For building a fire in rainy weather, you will need a sharp knife, folding saw and a small hatchet.
Find a fallen tree, cut a limb measuring about an arm, with the help of saw. Make sure it is dry. Further, saw the limb in footlong sections carefully. Then cut each of these sections into kindling. You must use a hatchet for splitting the sections of limb.
Assemble the tinder and kindling. You just need to place two thick sticks parallel and about 6inch apart from each other. Place about four thinner sticks on those two thick sticks cross-sectional. Place kindles in the gap between thick and thin sticks.
Light the fire using some amount of fuel. You are all set to enjoy.
Campfire is an inevitable part of everyone life as there are so many stories are connected to it from the sharing of secrets to proposals. Everyone has an unforgettable moment connected to it. Have a happy campfire to you.
Perfect Campfire
Once you know how to build a campfire


0 Comments